> ## Documentation Index
> Fetch the complete documentation index at: https://docs.sprello.ai/llms.txt
> Use this file to discover all available pages before exploring further.
# The canvas
> Add nodes, connect them, and move around the space where you build.
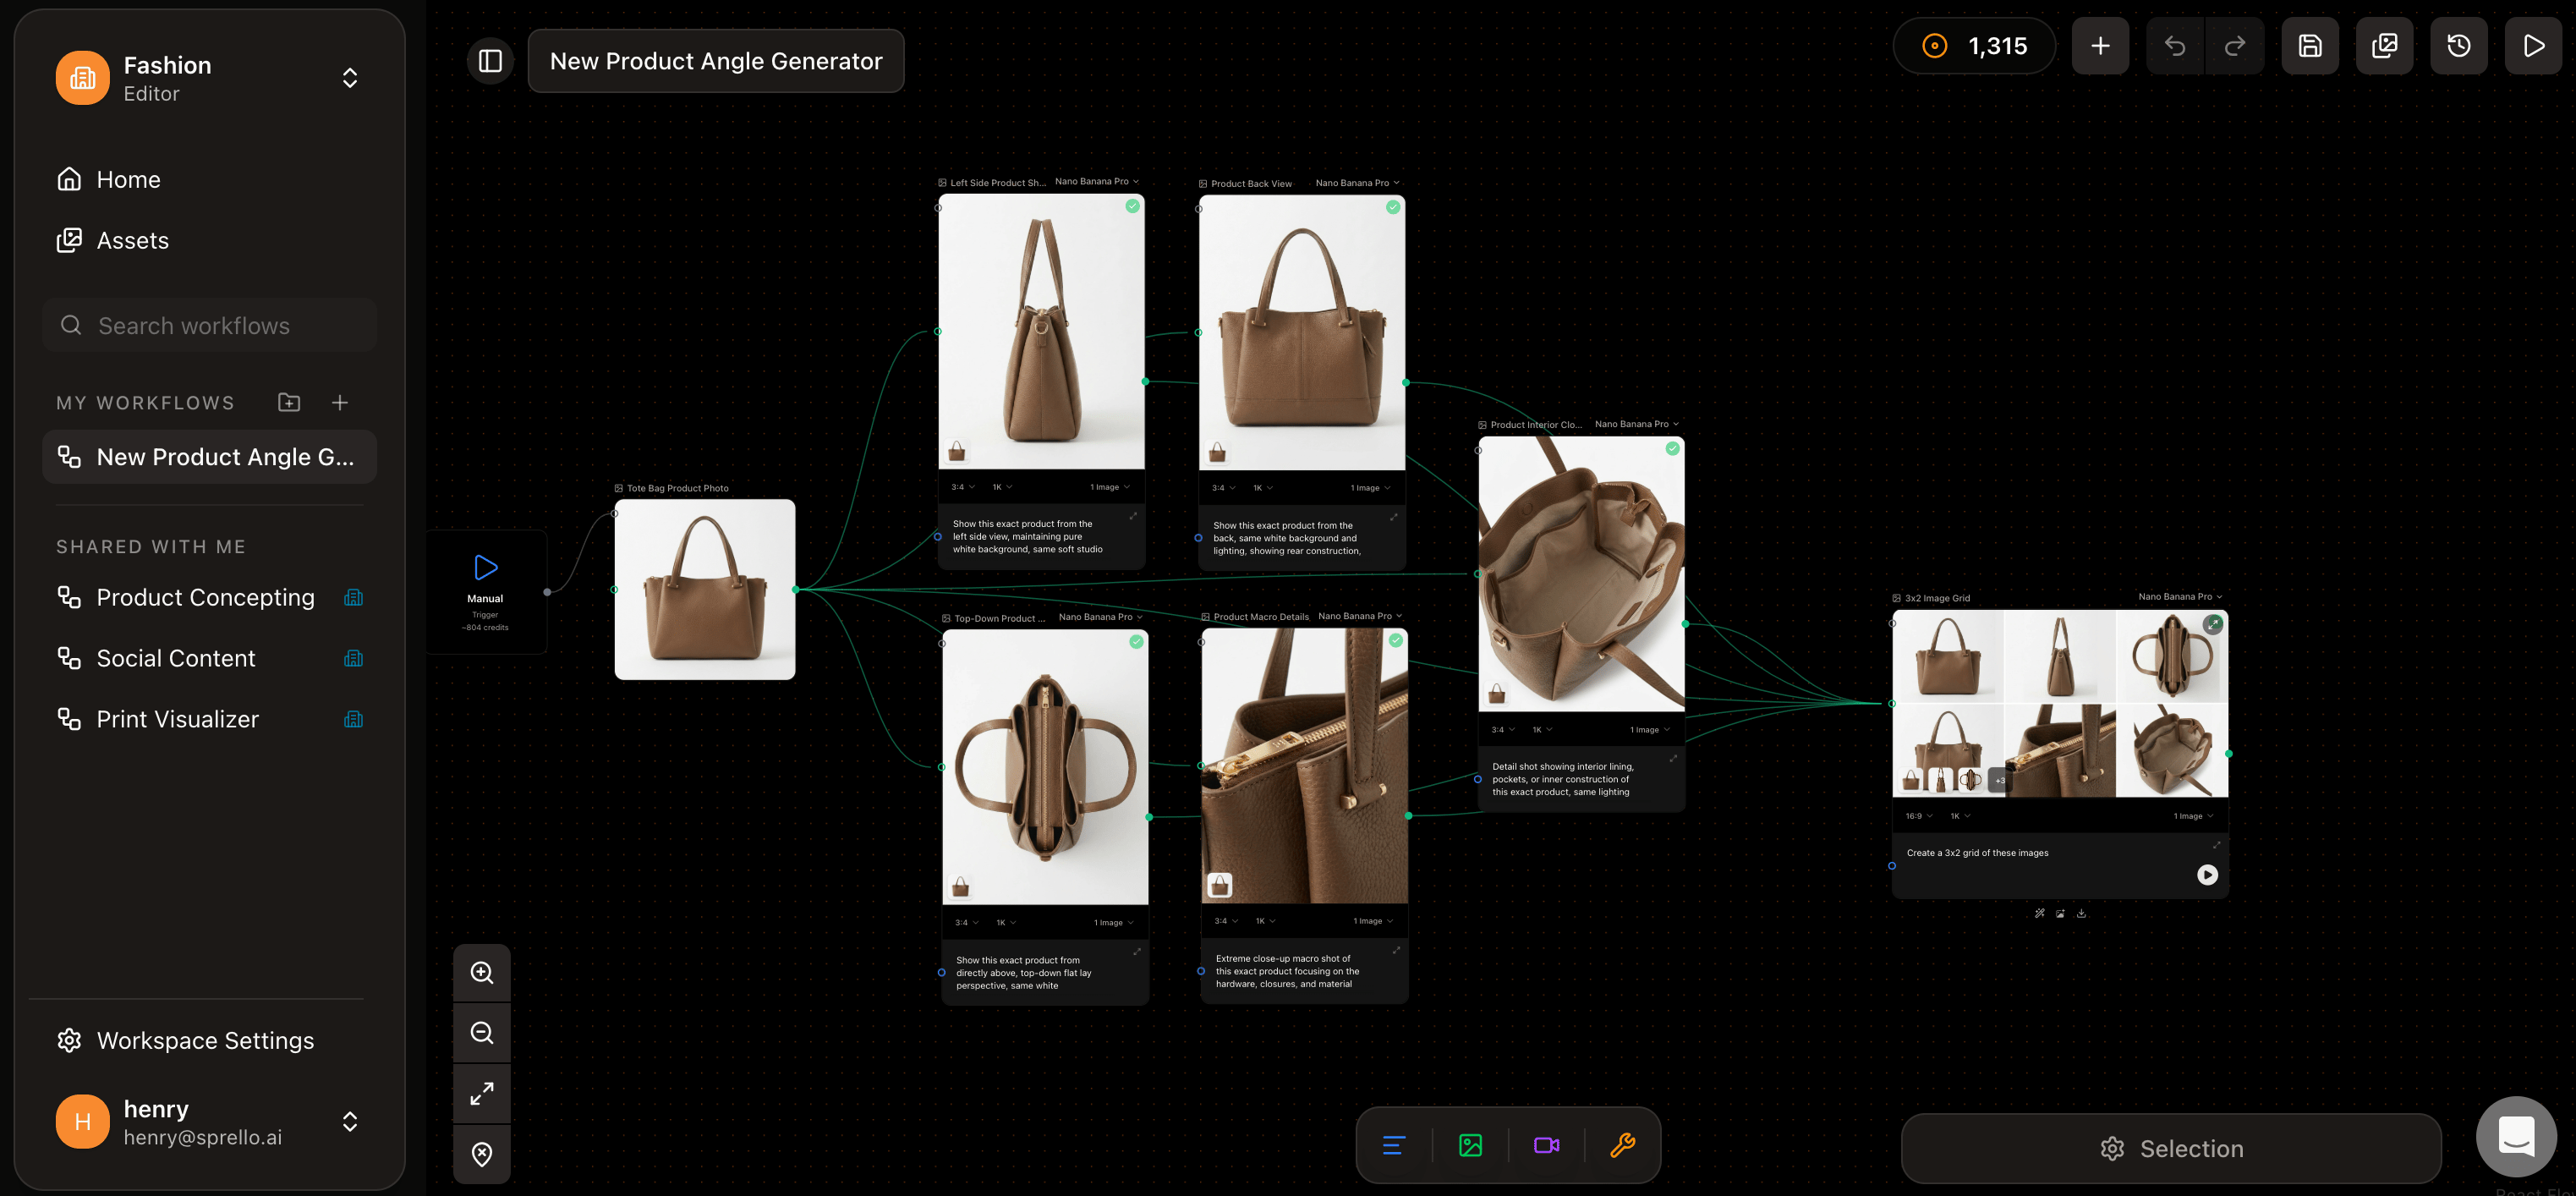
The canvas is where you build in Sprello. Instead of one prompt at a time, you lay out **nodes**—your inputs and generations—and connect them with **edges** so data flows from one to the next. Earlier work stays on the canvas, so you can branch, compare, and come back to it.
 ## Add a node
Right-click anywhere on the canvas to open the add menu, then choose what you need:
| Menu | What it adds |
| ---------------- | ------------------------------------------------------------------------- |
| **Input** | An Image, Video, or Text input. Upload a file or paste an image directly. |
| **Image models** | A Generate Image node, set to the model you pick. |
| **Video models** | A Generate Video node. |
| **Text models** | A Generate Text node. |
| **Utilities** | Helper nodes such as the Combinator. |
You can also drag an image straight from your computer onto the canvas to create an Image Input.
## Connect nodes
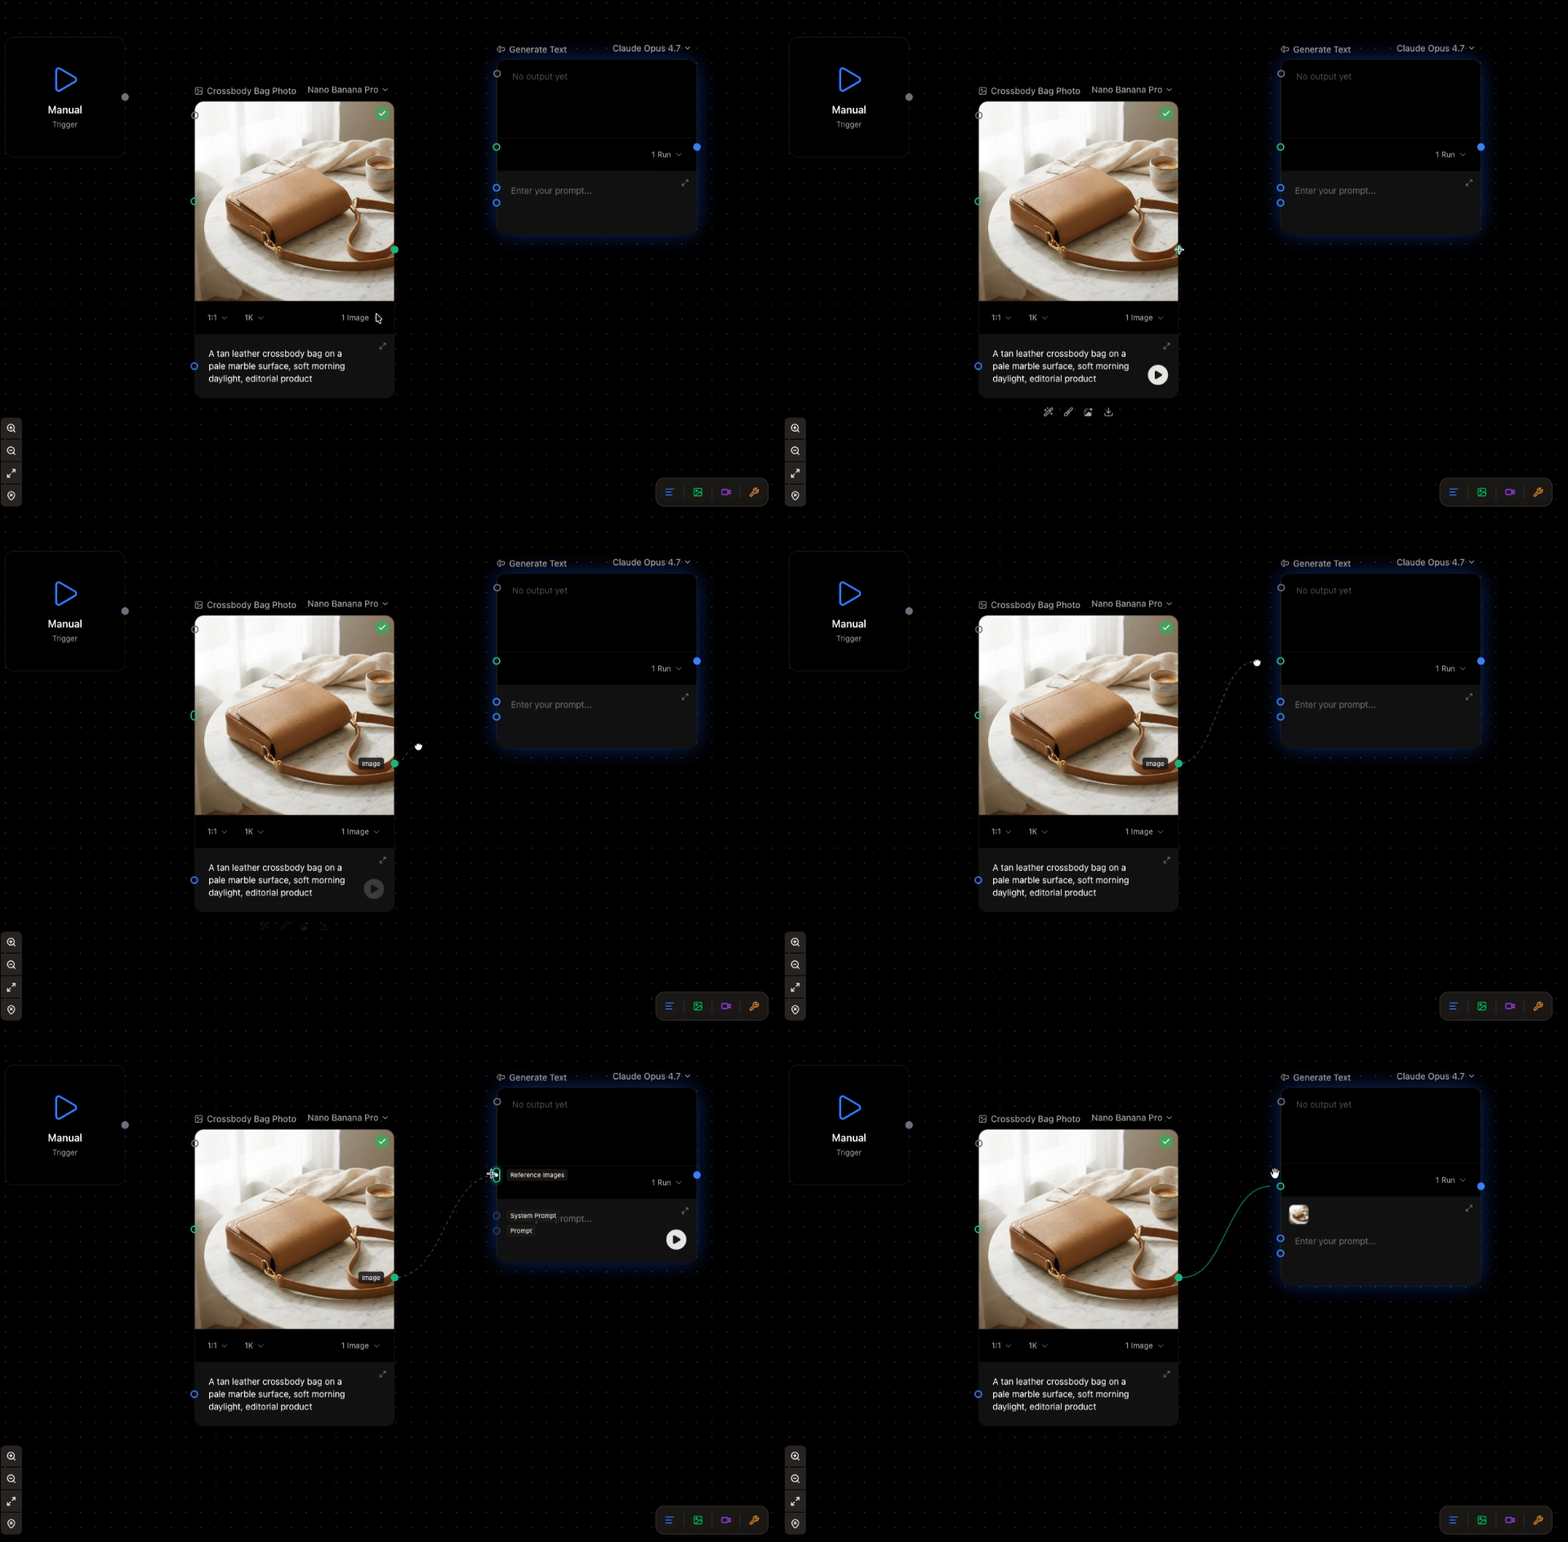
Drag from a node's output handle to another node's input handle to create a connection. Sprello only lets you connect things that fit—an image into an image slot, text into a prompt—so you can't build an invalid workflow. See [connections and data types](/concepts/connections) for the full picture.
When you connect a node into a generator, Sprello wires it into the prompt or reference for you, so the generator knows what to use.
## Add a node
Right-click anywhere on the canvas to open the add menu, then choose what you need:
| Menu | What it adds |
| ---------------- | ------------------------------------------------------------------------- |
| **Input** | An Image, Video, or Text input. Upload a file or paste an image directly. |
| **Image models** | A Generate Image node, set to the model you pick. |
| **Video models** | A Generate Video node. |
| **Text models** | A Generate Text node. |
| **Utilities** | Helper nodes such as the Combinator. |
You can also drag an image straight from your computer onto the canvas to create an Image Input.
## Connect nodes
Drag from a node's output handle to another node's input handle to create a connection. Sprello only lets you connect things that fit—an image into an image slot, text into a prompt—so you can't build an invalid workflow. See [connections and data types](/concepts/connections) for the full picture.
When you connect a node into a generator, Sprello wires it into the prompt or reference for you, so the generator knows what to use.
 ## Move around
* **Pan**: drag an empty part of the canvas.
* **Zoom**: scroll, or use the zoom controls.
* **Select**: click a node, or drag a box around several to select them together.
## Next
The three families of nodes and what each part of a node does.
What can connect to what, and how data flows.
## Move around
* **Pan**: drag an empty part of the canvas.
* **Zoom**: scroll, or use the zoom controls.
* **Select**: click a node, or drag a box around several to select them together.
## Next
The three families of nodes and what each part of a node does.
What can connect to what, and how data flows.