> ## Documentation Index
> Fetch the complete documentation index at: https://docs.sprello.ai/llms.txt
> Use this file to discover all available pages before exploring further.
# Nodes
> The building blocks of every workflow: inputs, generators, and utility nodes.
Every workflow is made of **nodes**. It starts with a [Trigger](/nodes/trigger), and the rest fall into three families.
| Family | Nodes | What they do |
| -------------- | ----------------------------------------------------------------------------------------------------------------------- | -------------------------------------------------------------------------------------- |
| **Inputs** | [Text Input](/nodes/text-input), [Image Input](/nodes/image-input), [Video Input](/nodes/video-input) | Hold the content you provide—prompts, references, source files. They start a workflow. |
| **Generators** | [Generate Image](/nodes/generate-image), [Generate Video](/nodes/generate-video), [Generate Text](/nodes/generate-text) | Take inputs, run them through an AI model, and produce new results. |
| **Utility** | [Combinator](/nodes/combinator) | Control how data multiplies through a workflow. |
## Anatomy of a node
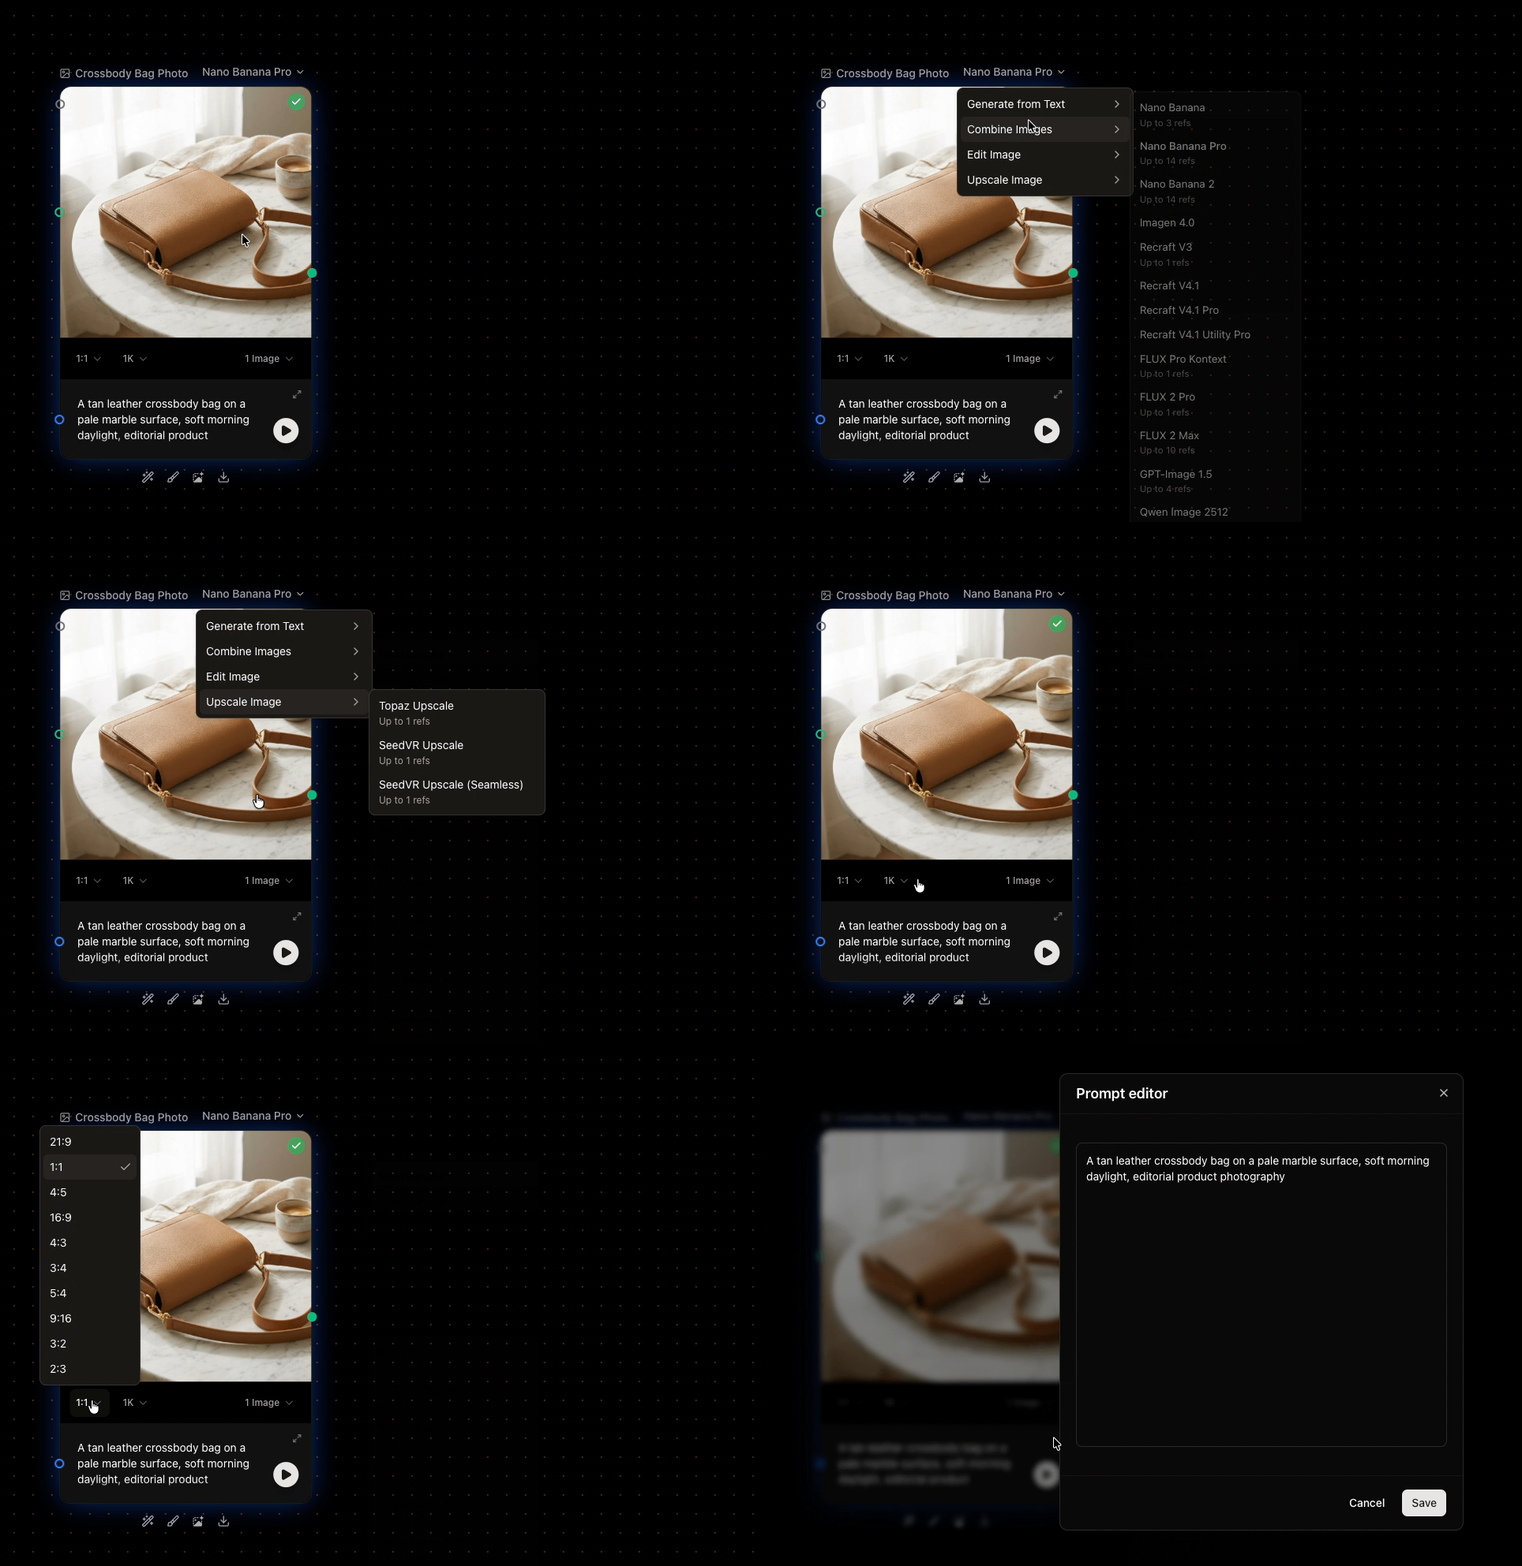
Most generator nodes share the same parts:
* **Prompt field** — what you want, in words. Connected inputs appear here as labeled references like `@Sketch`.
* **Model selector** — which AI model runs. See [choosing a model](/models/overview).
* **Generation settings** — options such as aspect ratio, number of results, and resolution, depending on the model.
* **Run button** — generate from this node.
* **Output area** — your results. When a node produces more than one, a navigation bar lets you step through them.
* **Status** — whether the node is idle, running, done, or needs attention.
 A hover toolbar gives quick actions on a node's result—[annotate or inpaint](/concepts/annotate-and-inpaint), download, enhance the prompt, remove a background, and more.
## Properties panel
When you select a node, a **Properties panel** opens at the bottom-right of the canvas. It exposes extra options and toggles—including settings specific to a generation model—that aren't shown on the node itself. It's also where you disable (freeze) a node.
## Items and iteration
An input node can hold **one item or many** (several images, several lines of text). When it holds many, you decide whether each item generates its own result or they all combine into one. That choice is what lets you produce variations at scale—see [variations](/concepts/variations).
## Disabling a node
You can disable any node to **freeze its output**, from its [Properties panel](#properties-panel). A disabled node is skipped on the next run—no model call, no credits—but its last result stays available to everything downstream. Re-enable it when you want it to generate again.
## Next
How nodes pass data to each other.
One result per item, or all items combined.
A hover toolbar gives quick actions on a node's result—[annotate or inpaint](/concepts/annotate-and-inpaint), download, enhance the prompt, remove a background, and more.
## Properties panel
When you select a node, a **Properties panel** opens at the bottom-right of the canvas. It exposes extra options and toggles—including settings specific to a generation model—that aren't shown on the node itself. It's also where you disable (freeze) a node.
## Items and iteration
An input node can hold **one item or many** (several images, several lines of text). When it holds many, you decide whether each item generates its own result or they all combine into one. That choice is what lets you produce variations at scale—see [variations](/concepts/variations).
## Disabling a node
You can disable any node to **freeze its output**, from its [Properties panel](#properties-panel). A disabled node is skipped on the next run—no model call, no credits—but its last result stays available to everything downstream. Re-enable it when you want it to generate again.
## Next
How nodes pass data to each other.
One result per item, or all items combined.