
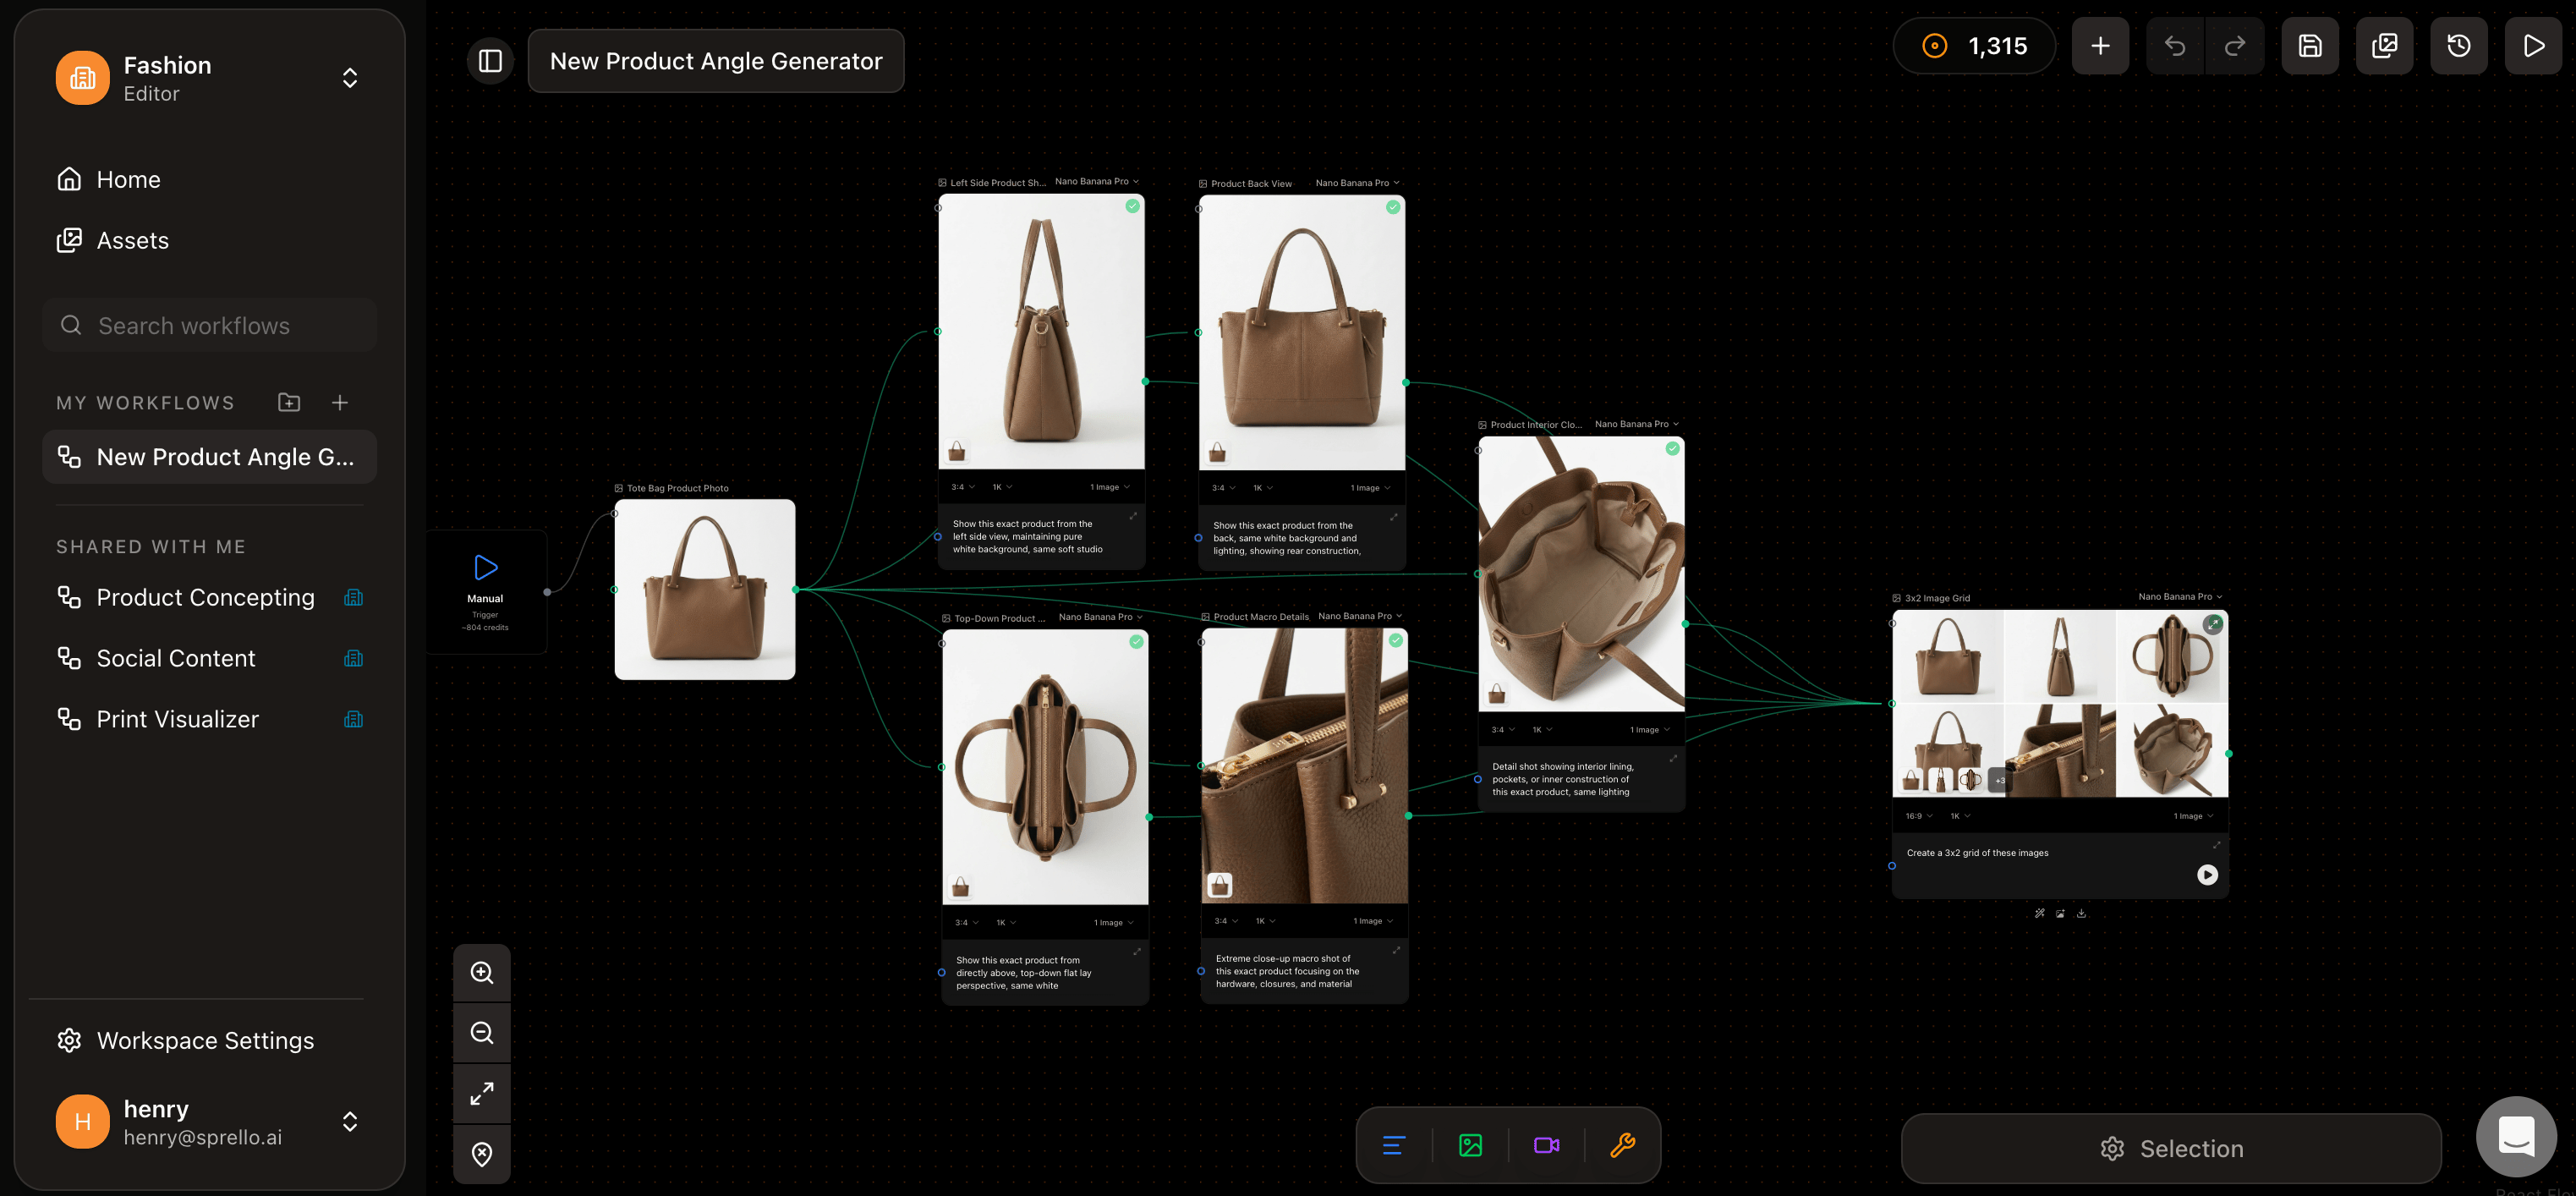
A workflow on the canvas: inputs flowing into a generation
Add a node
Right-click anywhere on the canvas to open the add menu, then choose what you need:Connect nodes
Drag from a node’s output handle to another node’s input handle to create a connection. Sprello only lets you connect things that fit—an image into an image slot, text into a prompt—so you can’t build an invalid workflow. See connections and data types for the full picture. When you connect a node into a generator, Sprello wires it into the prompt or reference for you, so the generator knows what to use.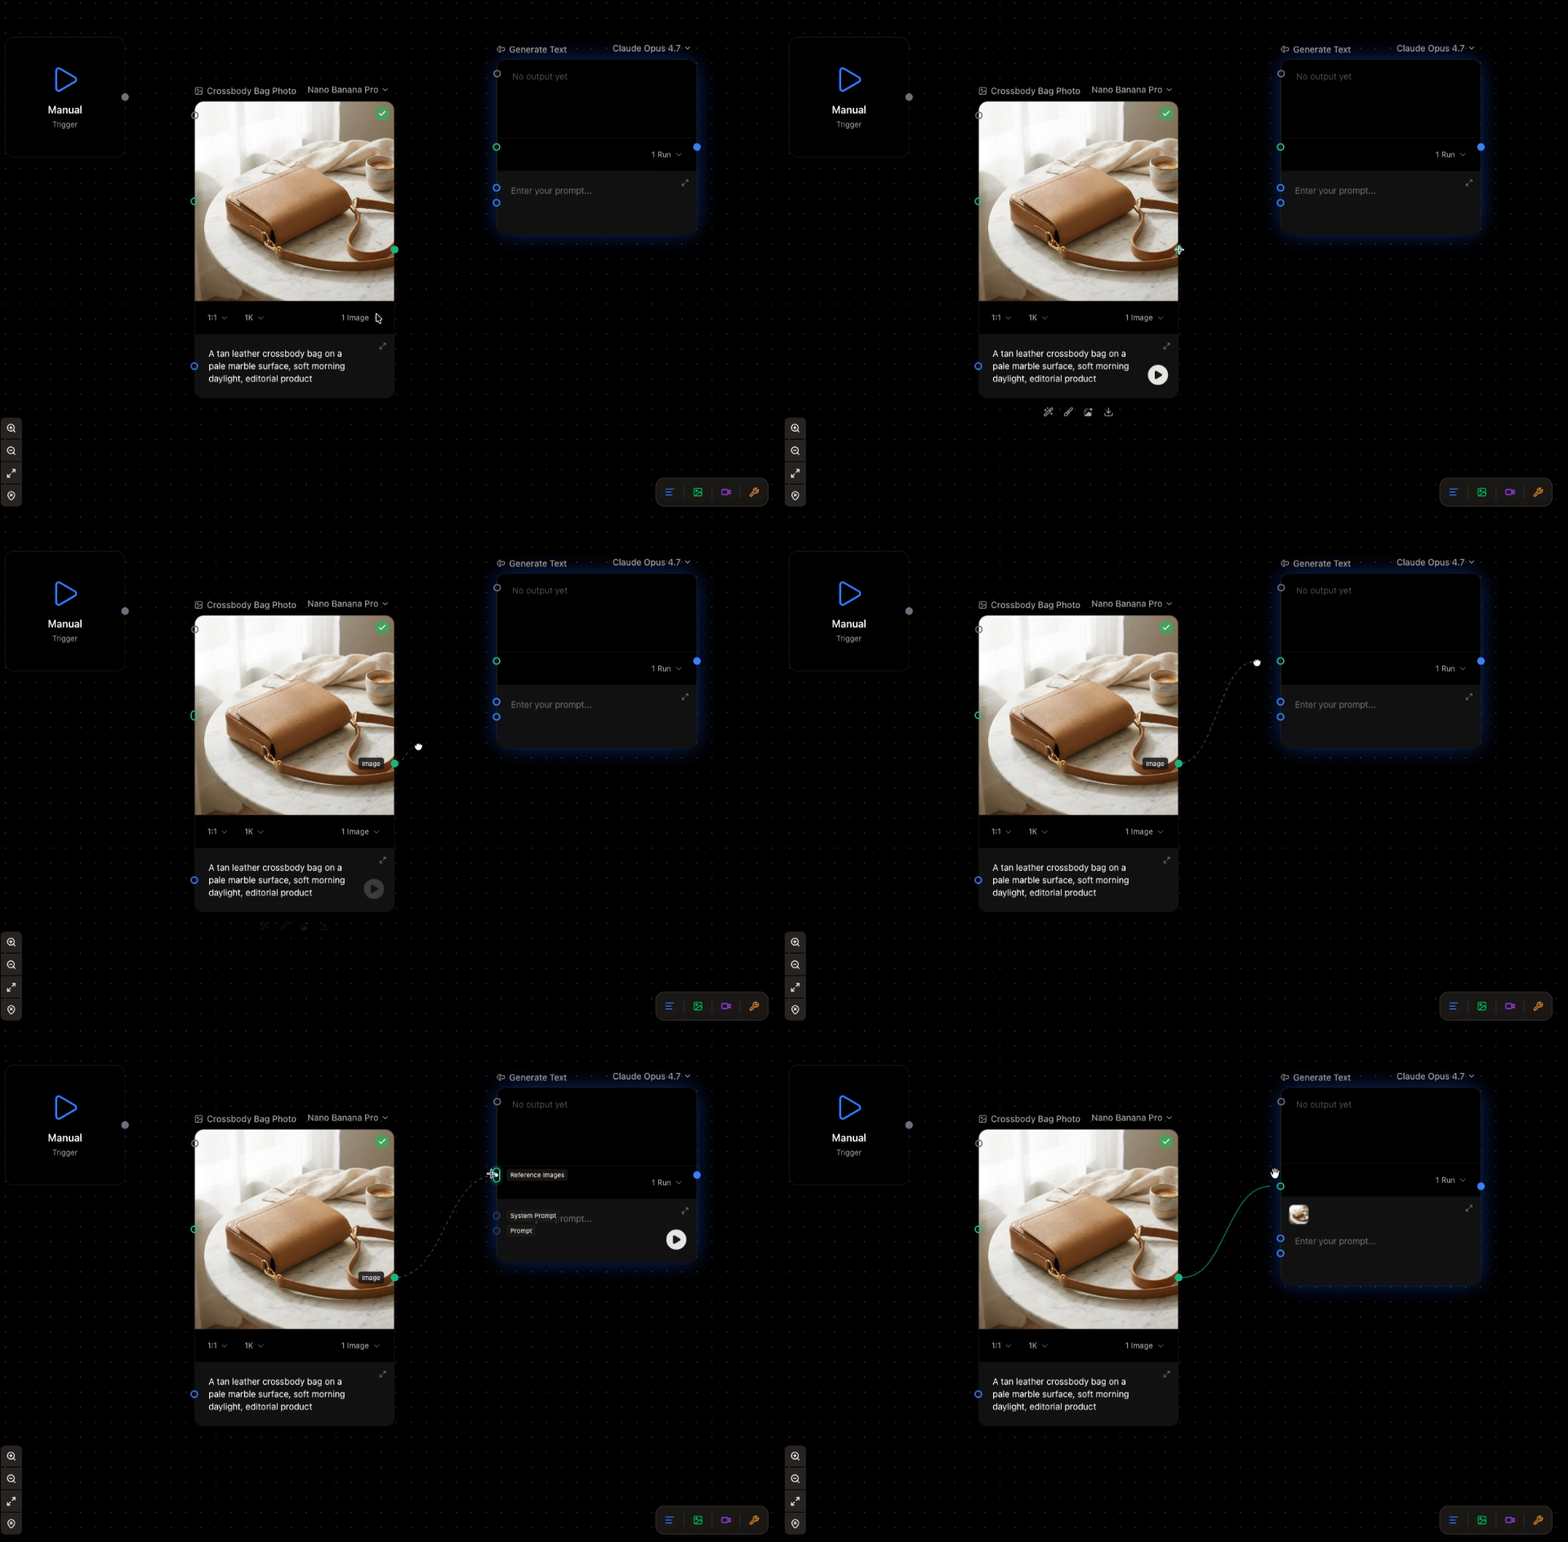
Dragging from one node's handle to another to connect them
Move around
- Pan: drag an empty part of the canvas.
- Zoom: scroll, or use the zoom controls.
- Select: click a node, or drag a box around several to select them together.
Next
Nodes
The three families of nodes and what each part of a node does.
Connections and data types
What can connect to what, and how data flows.