Go from a prompt to a finished asset on the Sprello canvas.
This guide walks you through the core loop in Sprello: add a node, generate an image, review it, and save it to a collection. It takes about five minutes.
You need a Sprello account and a workspace. When you open a new workflow, you land on a blank canvas—the space where you build.
Inside your workspace, create a new workflow. Sprello opens an empty canvas, ready for your first node.
Create a new workflow
2
Add a Generate Image node
Right-click anywhere on the canvas to open the add menu, then pick a model under Image models. Or select a Generate Image node from the menu at the bottom of your canvas. A Generate Image node appears with a prompt field and a model selector.
Adding a Generate Image node from the canvas menu
3
Write your prompt
Click the prompt field and describe what you want. Be specific about the subject, setting, and look:
A tan leather crossbody bag on a pale marble surface, soft morning daylight, editorial product photography
Short on words? Use Enhance prompt to expand a rough idea into a fuller description before you generate.
4
Choose a model
Pick an image model in the node’s model selector. Each model has its own strengths—some excel at product detail, others at styling and mood. The default is a good starting point; see choosing a model when you want to compare.
5
Generate
Select Run. The node shows its progress while the model works.
Your image appears on the node. Not quite right? Adjust the prompt or model and run again.
2
Save it to a collection
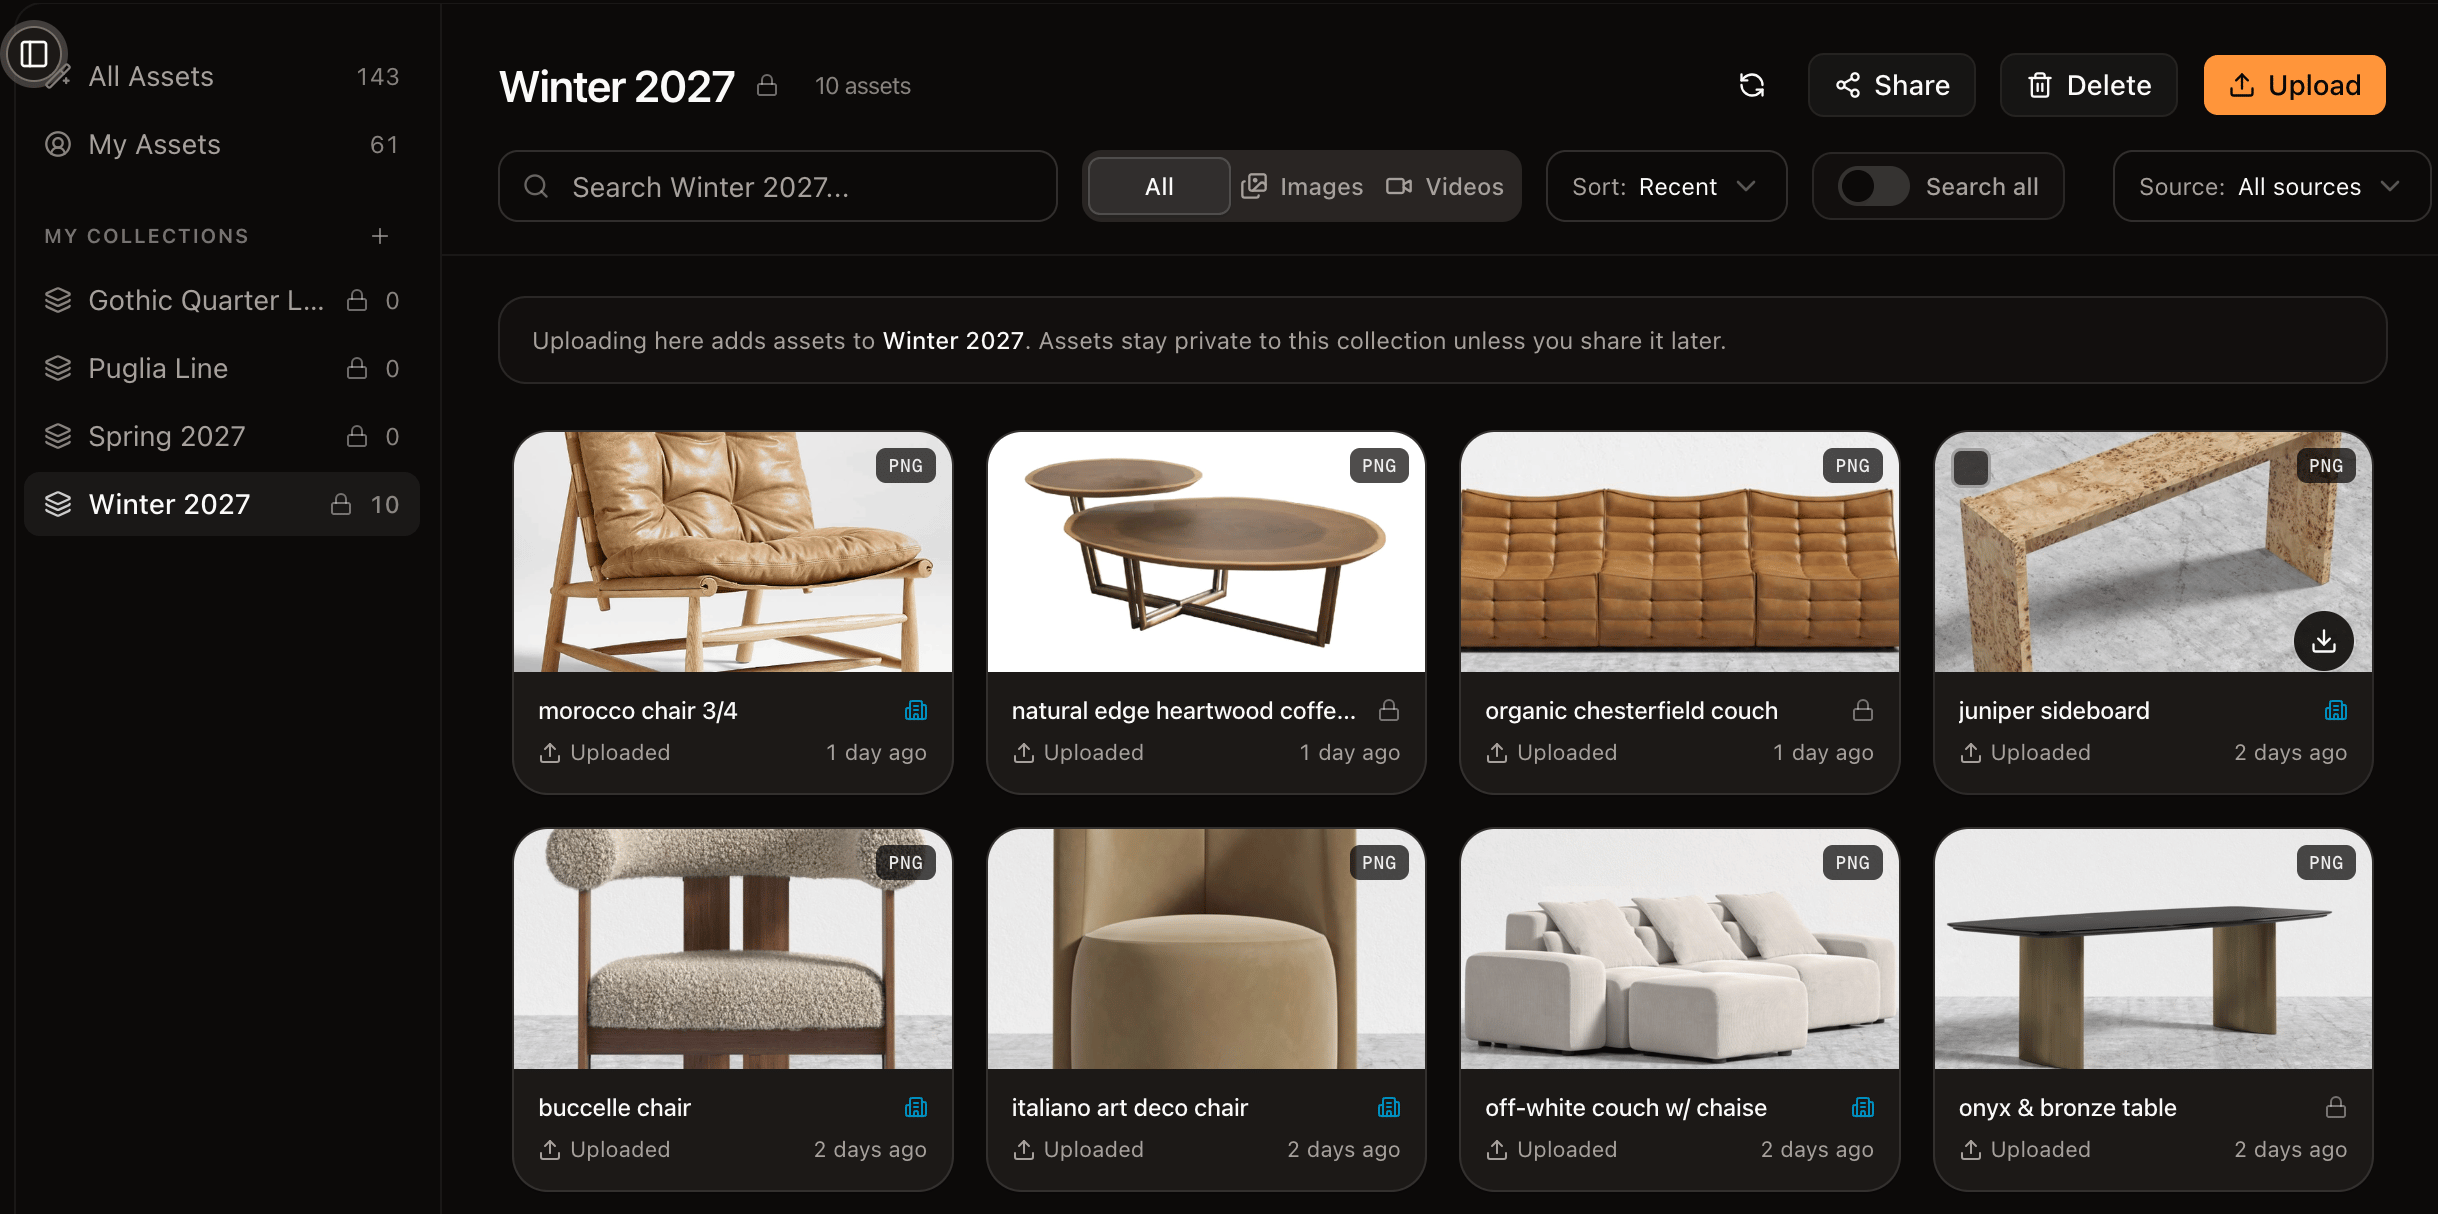
Every generation is saved to your asset library automatically. To keep it with related work, add it to a collection—for example, a product, a season, or a campaign. An asset can belong to as many collections as you need.
A collection of generated assets
You generated your first image and saved it to a collection. That is the loop you will repeat—now you can scale it.